

How to remove stickers and sticker residue
To remove a sticker, gently lift an edge and peel away what you can. Then treat the adhesive left behind using a method suited to the surface. Warm soapy water is a useful starting point for washable glass and plastic. A laptop needs a different approach, with very little moisture and only cleaning products permitted for its finish.
Check the object before reaching for the strongest bottle in the cupboard. The sticker is meant to leave. The finish is meant to stay.
Choose your surface first
| Surface | Start here | Keep in mind |
| Plain washable glass | Warm soapy water and a soft cloth | Keep liquids off frames and coatings. Do not treat screens as ordinary glass. |
| Washable plastic | Mild soapy water and gentle peeling | Check compatibility before using a remover. Plastic types and finishes differ. |
| Laptop exterior | Power off, unplug and gently lift an edge | Follow the cleaning instructions for that model. Never soak or spray it. |
| Paint, tint, unfinished wood or paper | Check the care instructions first | The procedures below are not general removal instructions for these surfaces. |
Before you start
Have a soft cloth and a fingernail or clean plastic card ready. Remove loose grit before sliding anything across the surface. A plastic edge still needs a light touch.
If you need a cleaning product, check both the object’s care instructions and the product label. Test it on a small hidden area and let that area dry before checking for changes in colour, gloss or texture. A patch test reduces uncertainty; it cannot promise a damage-free result everywhere.
Work with one product at a time and follow its ventilation and handling instructions. Keep alcohol and solvent-based removers away from flames and heat. Do not combine cleaning products.
How to remove stickers from glass
These steps are for plain, uncoated glass that can be washed. Use separate care instructions for tinted windows, decorative finishes and glass with a film on it.
1. Soften the label. For a washable jar or bottle, soak the labelled area in warm soapy water. On fixed glass, hold a damp cloth against the label without soaking the frame or surrounding materials. Give the paper time to soften, then check whether an edge lifts.
2. Lift the sticker gently. Use your fingernail or a clean plastic card to lift the softened edge. Peel slowly. If it tears, soften the remaining paper again instead of scraping harder.
3. Treat the exposed adhesive. If a sticky layer remains, use a little rubbing alcohol on a cloth, or a sticker remover labelled for that glass surface. Follow the product’s contact-time instructions and keep it away from nearby paint, plastic and seals. Wipe away the loosened residue.
4. Clean away the treatment. Follow the remover’s clean-up instructions, then wash washable glassware thoroughly before using it again. Wipe fixed glass clean and dry.
If the sticker stays intact while the paper labels around it soften, stop repeating the soak indefinitely. Gently remove what lifts, then use a compatible remover on the exposed adhesive. There is no single soaking time that works for every label.
How to remove stickers from plastic
Start with mild soapy water on plastic objects that are safe to wash. For electronics, use the laptop procedure below instead, even when the outer casing is plastic.
1. Dampen the label with a soft cloth and warm soapy water. Soak the object only if its care instructions allow it.
2. Lift an edge with your fingernail and peel gently. A clean plastic card can help with softened remnants, but stop if it leaves marks.
3. Wipe away the loosened adhesive. If it stays sticky, choose a remover specifically suitable for the plastic and its finish. Test a hidden area first, then follow the label directions.
4. Clean off the remover as directed and dry the object before using it again.
Do not assume that nail polish remover or a solvent suitable for glass is suitable for plastic. If you cannot identify the material or confirm compatibility, stop after gentle cleaning. Clouding, colour transfer or a change in texture is a reason to stop, not to rub harder.
How to remove stickers from a laptop
Work on the exterior casing only. Screens, keyboards, ports and coated or rubberised areas need their own care instructions.
1. Shut down the laptop, unplug the charger and disconnect accessories.
2. Lift a sticker corner with your fingernail and peel gently. Stop if the finish starts to lift with it. Do not use a blade to dig underneath.
3. For remaining adhesive, use the cleaning method allowed for your exact model and surface. Apply the permitted cleaner to a soft, lint-free cloth, never directly to the laptop. Keep the cloth barely damp and moisture away from seams and openings.
4. Wipe gently and let the casing dry before reconnecting power. If the approved cleaner does not shift the adhesive, seek model-specific advice before trying a stronger remover.
Some laptop care instructions permit 70% isopropyl alcohol on certain exterior surfaces. That is not permission to soak a sticker in it or use it on every laptop finish. Avoid household adhesive-removal experiments with oil, nail polish remover, brake cleaner or a hairdryer.
When sticker residue will not come off
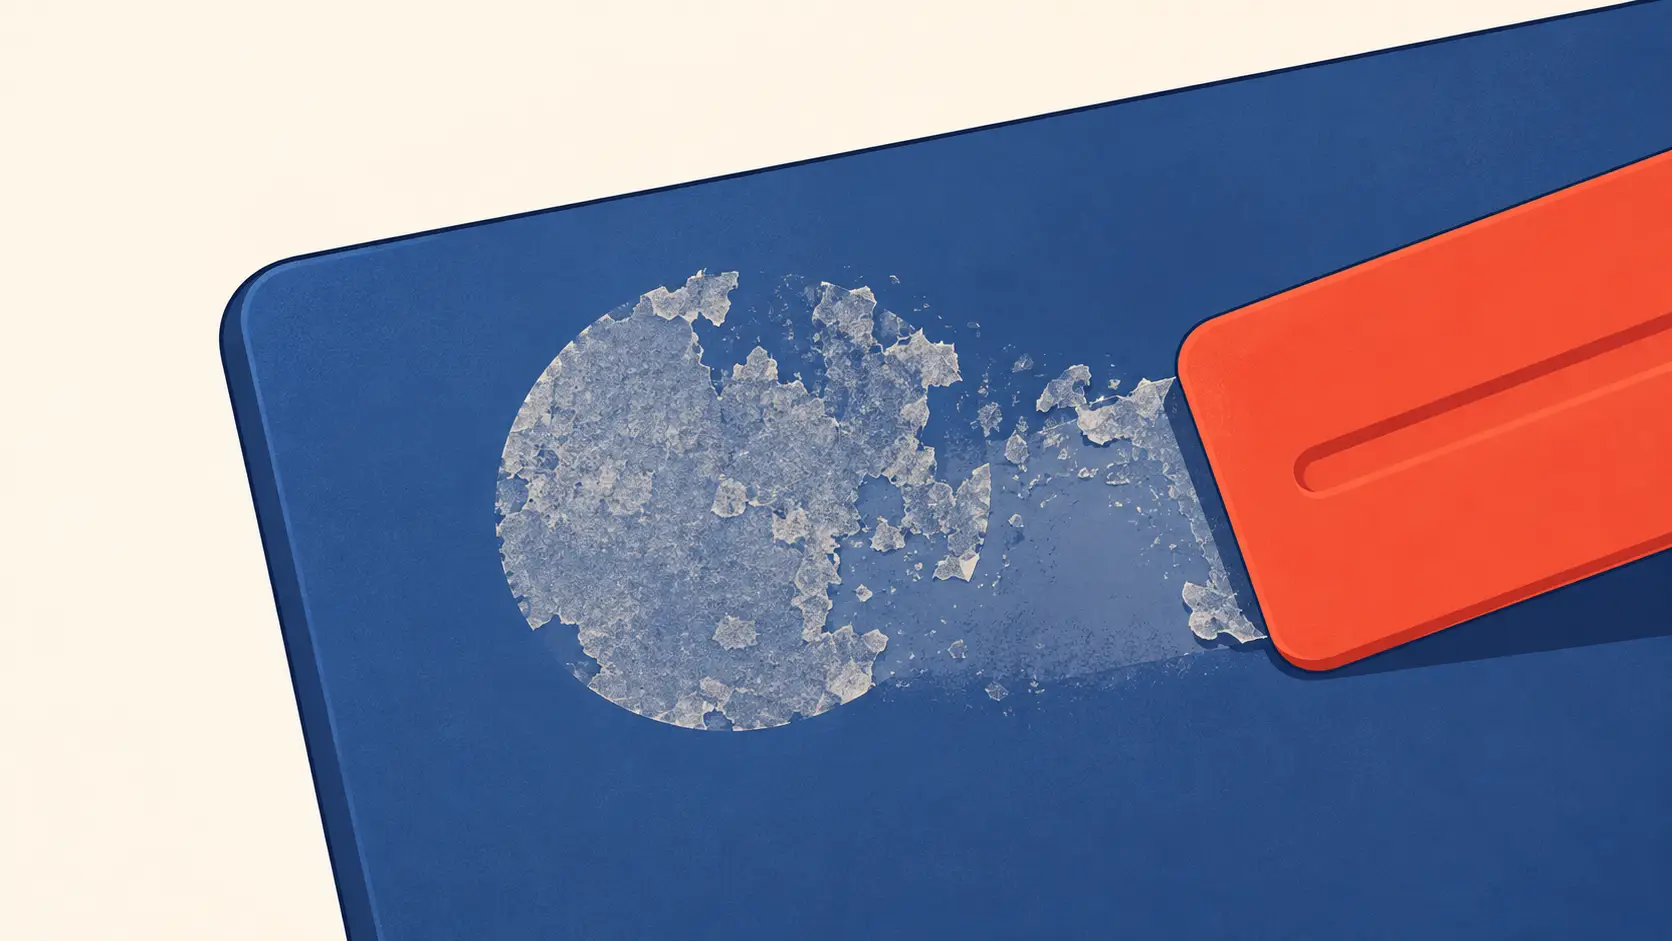
Check what is actually left. If you can still see pieces of paper or sticker film, lift those first where they release gently. If only adhesive remains, work on that exposed layer with the surface-compatible treatment you have chosen.
Give a remover the contact time stated on its label, then lift the softened residue with a clean part of the cloth. Repeatedly wiping with the same sticky patch of cloth can simply move the mess around.
If gentle cleaning and a compatible remover are not working, pause. More force or a stronger solvent can turn a removable mark into damage. Stop immediately if paint transfers to the cloth, a coating lifts, or the surface changes colour or texture.
A visible outline is not enough reason to keep scrubbing. Once the surface is clean and no longer sticky, reassess the mark before applying anything else.
Before putting another sticker in its place
Remove any remaining cleaning product using the method suitable for that object, then let the surface dry completely. Do not cover sticky residue or an oily film with a new sticker.
For questions about applying a PrettyGoodStickers sticker or choosing its material, see the sticker FAQ.
 Staff
Staff